Construye un Website con Zola
Esta es la herramienta que uso actualmente para este website, y me gusta porque es minimalista y veloz.
Puedes ver más en www.getzola.org, pero de igual forma te enseñaré unos trucos.
Instalación
Dependiendo de tu Sistema Operativo, instala Zola.
Linux
Prefiero instalarlo via Flatpak:
flatpak install flathub org.getzola.zolamacOS
Disponible en Brew:
brew install zolaWindows
Si por alguna razón sigues usando Winshit Windows, está disponible en wget:
winget install getzola.zolaDe ahora en adelante, asumiré usas Linux
Uso de la CLI
Si instalaste via Flatpak, crea un alias en ~/.bashrc (bash) ~/.zshrc (zsh):
alias zola="flatpak run org.getzola.zola"Luego, recarga tu shell:
source ~/.zshrcNow, go to your projects directory, like ~/Projects, and init a Zola project:
zola init my_websiteAlso you can navigate into an existing directory, and then just run:
zola initYou might be prompted by things like your website url, if you want to use SASS, and so on, you can change those settings in the generated zola.toml file in the root of your project.
Now you can run your project in local:
zola serveNow open your browser, and navigate to http://127.0.0.1:1111, it should look something like this:
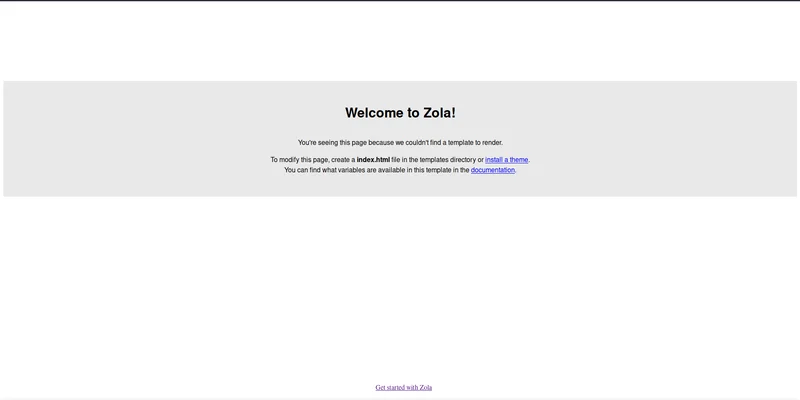
Initial project structure
Your project structure should look similar like this:
├── content
├── static
├── templates
├── themes
└── zola.toml
I would recommend to create a static/css/main.css.
Base template and home page
Configuration of zola.toml
Here is my base configuration, edit it as you like:
base_url = "https://juanmanzanero.com"
compile_sass = false
build_search_index = false
author = "Juan Manzanero"
output_dir = "build"
generate_feeds = true
default_language = "en"
I prefer to use pure CSS instead of SASS, change the output_dir (which is where the generated website files goes) to build.
Create the base template
Create a new file: templates/base.html, this is the body of your HTML page:
<!doctype html>
<html lang="{{ lang }}">
<head>
<meta charset="UTF-8" />
<meta name="viewport" content="width=device-width, initial-scale=1.0, viewport-fit=cover" />
<title>My website</title>
<meta name="description" content="Hello world">
<link rel="stylesheet" href="{{ get_url(path='css/main.css') }}">
</head>
<body>
<main class="main-content">
{% block content %}
{% endblock %}
</main>
</body>
</html>- Line 2: is a globally available variable that we will take advantage later, from now, as we set in the
zola.toml,default_language = "en", when being in our "home" (/) in the website, the lang will be set toen(English) - Line 8: here we are importing from
static/css/main.cssour stylesheet, theget_urlwill be usefull for things like this - Lines 12-13: this is where our dynamic content will be rendered, starting with our home.
Create the home page
New file: templates/index.html:
{% extends "base.html" %}
{% block content %}
<section class="hero">
<h1>Hello world</h1>
<p>This is my website built with Zola!</p>
<a href="/blog">Blog posts</a>
</section>
{% endblock %}- Line 1: here we extend our
base.htmltelling Zola that it will wrap ourindex.html - Lines 3-9: starting with
{% block content %}we then type our HTML content, and close it with{% endblock %}, also add the/bloglink that we will use later
Adding content
Zola is focused on building content sites like this one, where you share blog posts or similar stuff.
To define your content, this goes in your content/ directory.
Start by creating content/_index.md:
+++
title = "My website"
description = "Hello world"
+++
# Hello world.
This is my website built with Zola!- Lines 1-4: here we define our frontmatter data, this will be useful for rendering dynamic content
- Lines 6-8: markdown content, use markdown syntax to type posts, or whatever you like
Update your templates/base.html
Let us change the templates/base.html so it uses the title and description values from our content/_index.md:
{% set root_section = get_section(path="_index.md") %}
{% if page is defined and page.title %}
{% set title = page.title ~ " | " ~ config.author %}
{% else %}
{% set title = config.author %}
{% endif %}
{% if page is defined and page.description %}
{% set description = page.description %}
{% else %}
{% set description = root_section.description %}
{% endif %}
<!doctype html>
<html lang="{{ lang }}">
<head>
<meta charset="UTF-8" />
<meta name="viewport" content="width=device-width, initial-scale=1.0, viewport-fit=cover" />
<title>{{ title }}</title>
<meta name="description" content="{{ description }}">
<link rel="stylesheet" href="{{ get_url(path='css/main.css') }}">
</head>
<body>
<main class="main-content">
{% block content %}
{% endblock %}
</main>
</body>
</html>- Lines 1-13: here we are setting some variables:
root_section: is ourcontent/_index.mdwe import itpage: will be use it in the future, that is why are doing a conditional (if else)title: if thepagevariable is defined, we create a ourtitleby combining thepage.titlevalue, plus theconfig.authorvariable, which is set in thezola.tomlfile asauthor = "Juan Manzanero"description: just like withtitlewe getdescriptionfrompage.description,
- Lines 18-19: as we did with
es, we embed ourtitleanddescriptionvariables
If you check your website, it should look like this:
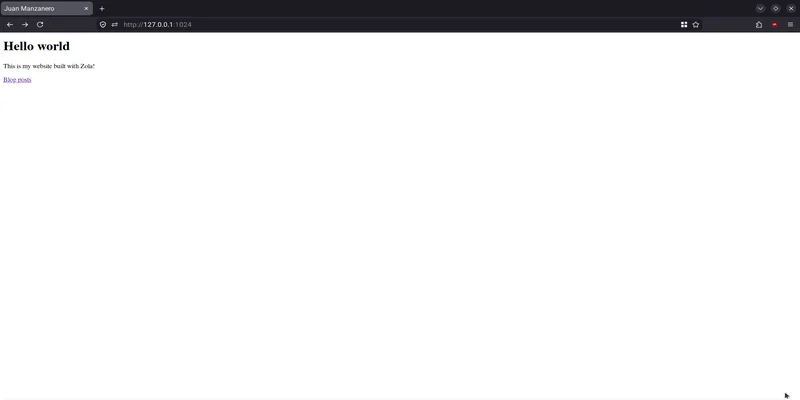
Do you see the title in the tab bar?
Check your web tools and look for the description tag, the description you typed in content/_index.md will be there.
Adding subpages: /blog
Create content/blog directory, then create a file: content/blog/_index.md:
+++
title = "Blog"
description = "These are my posts"
sort_by = "date"
+++
Create content/blog/hello-world directory, then inside create content/blog/hello-world/index.md file:
+++
title = "Hello world"
description = "My first post!"
date = 2026-09-01
+++

And I did it with [Zola](https://www.getzola.org)
Create templates/section.html, and add the following:
{% extends "base.html" %}

{% block content %}
    {% set content_section = get_section(path="blog/_index.md") %}
    <section class="blog-section">
        <h1>{{ content_section.title }}</h1>
        {% if content_section.description != "" %}
            <p>{{ content_section.description }}</p>
        {% endif %}
        <ul class="posts-list">
            {% for post in content_section.pages %}
                <li class="post-item">
                    <a href="{{ post.path }}">
                        <h3>{{ post.title }}</h3>
                    </a>
                    <time datetime="{{ post.date }}">
                        {{ post.date | date(format="%B %d, %Y") }}
                    </time>
                </li>
            {% endfor %}
        </ul>
    </section>
{% endblock %}
Once again, we extend our base.html, then we add the block content, just like in index.html, also now we import blog/_index.html, this will contain all our posts insde content/blog/, so we can list them.
Then we iterate through the content_section.pages property, as we currently have only one, one post will be displayed with the data we defined in the frontmatter.
It should look like this:
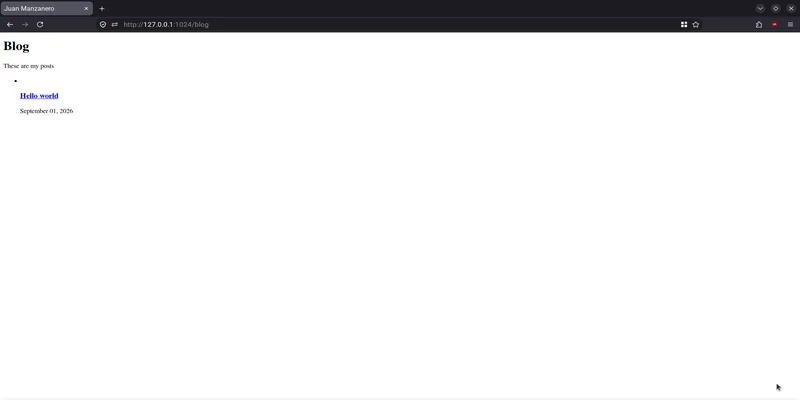
Now add a new template: templates/page.html:
{% extends "base.html" %}
{% block content %}
<article class="post">
<h1>{{ page.title }}</h1>
{% if page.date %}
<time datetime="{{ page.date }}">
{{ page.date | date(format="%B %d, %Y") }}
</time>
{% endif %}
<p>{{ page.description }}</p>
{{ page.content | safe }}
</article>
{% endblock %}It looks like this:
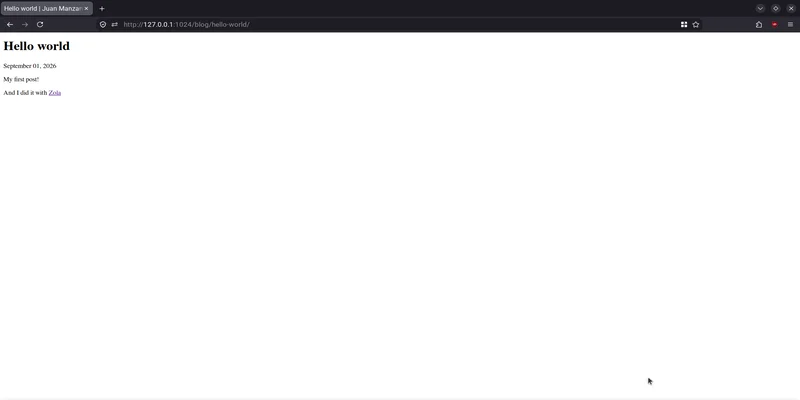
Keep adding posts
Now try adding new posts just like blog/hello-world/index.md, each of them will be created by Zola.
Internationalization (i18n)
This website serves content in both English and Spanish, you can configure Zola for supporting multiple languages.
default_language = "en"

[languages.en]

[languages.es]
This will show content in English if we are in the root page /, and Spanish content if we are in /es.
Still if you visit /es, you will see your orginal content, let us fix that.
Create content/_index.es.md:
+++
title = "Mi website"
description = "Hola mundo"
+++

# Hola mundo

Este es mi website constrido con Zola!
Now update templates/index.html:
{% extends "base.html" %}
{% block content %}
{% if lang == "es" %}
{% set blog = get_section(path="_index.es.md") %}
{% set blog_url = "/es/blog" %}
{% else %}
{% set blog = get_section(path="_index.md") %}
{% set blog_url = "/blog" %}
{% endif %}
<section class="hero">
{{ section.content | safe }}
<a href="{{ blog_url }}">Blog posts</a>
</section>
{% endblock %}- Lines 4-8: we have the
langvariable globally available, it retrieves the current language of our page, determinate by the subpath, just like I explained before. Then we import conditionally the respective_index.mdfile if we are in en (/en) or_index.es.mdif we are in es (/es) - Line 10: there we can render our
_index.mdor_index.es.mdcontent
Let us also update our base.html:
{% if lang == "es" %}
{% set root_section = get_section(path="_index.es.md") %}
{% else %}
{% set root_section = get_section(path="_index.md") %}
{% endif %}
{% if page is defined and page.title %}
{% set title = page.title ~ " | " ~ config.author %}
{% else %}
{% set title = config.author %}
{% endif %}
{% if page is defined and page.description %}
{% set description = page.description %}
{% else %}
{% set description = root_section.description %}
{% endif %}
<!doctype html>
<html lang="{{ lang }}">
<head>
<meta charset="UTF-8" />
<meta name="viewport" content="width=device-width, initial-scale=1.0, viewport-fit=cover" />
<title>{{ title }}</title>
<meta name="description" content="{{ description }}">
<link rel="stylesheet" href="{{ get_url(path='css/main.css') }}">
<link rel="icon" type="image/x-icon" href="{{ get_url(path='favicon.ico') }}" />
</head>
<body>
<main class="main-content">
{% block content %}
{% endblock %}
</main>
</body>
</html>
Update templates/section.html:
{% extends "base.html" %}
{% block content %}
{% if lang == "es" %}
{% set content_section = get_section(path="blog/_index.es.md") %}
{% else %}
{% set content_section = get_section(path="blog/_index.md") %}
{% endif %}
<section class="blog-section">
<h1>{{ content_section.title }}</h1>
{% if content_section.description != "" %}
<p>{{ content_section.description }}</p>
{% endif %}
<ul class="posts-list">
{% for post in content_section.pages %}
<li class="post-item">
<a href="{{ post.path }}">
<h3>{{ post.title }}</h3>
</a>
<time datetime="{{ post.date }}">
{{ post.date | date(format="%B %d, %Y") }}
</time>
</li>
{% endfor %}
</ul>
</section>
{% endblock %}- Lines 4-8: again, we conditional fetch our
blog/_index.mdorblog/_index.es.md, depending of ourlangvariable
Now create a new file, content/blog/hello-world/_index.es.md:
+++
title = "Hola mundo"
description = "¡Mi primer post!"
date = 2026-09-01
slug = "hola-mundo"
+++
Y lo hice con [Zola](https://www.getzola.org).- Line 5: the
slugproperty will change the url name, from/hello-world/to/hola-mundo
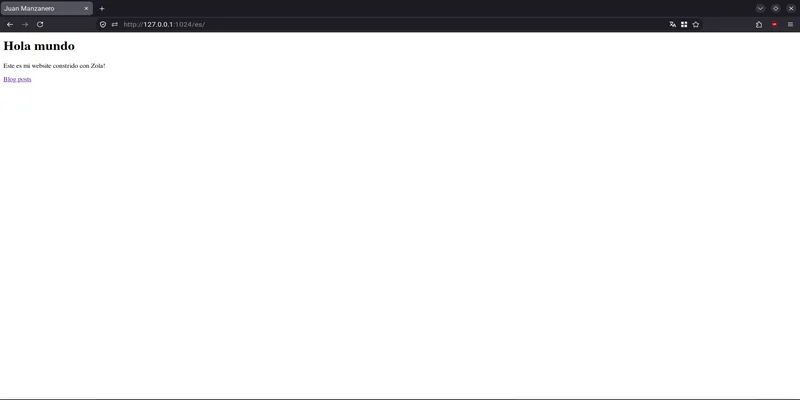
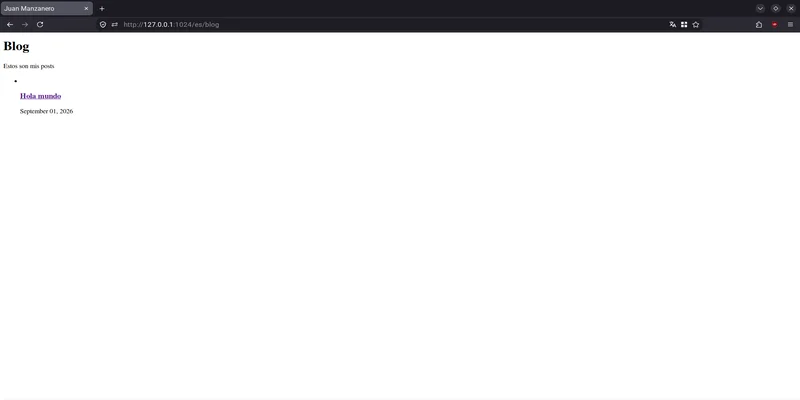
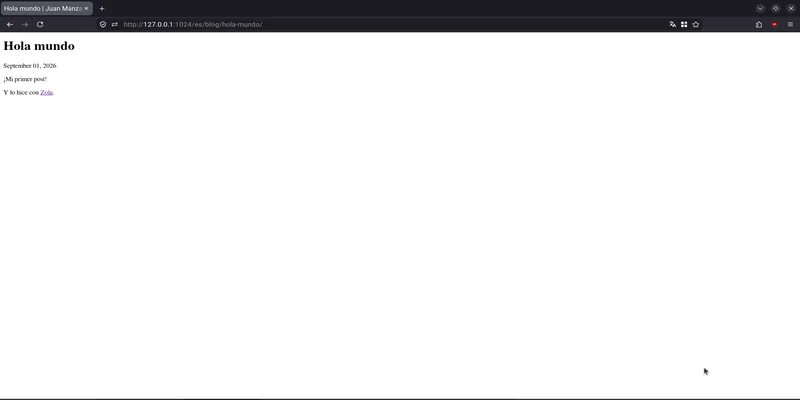
Your page, if you navigate to /es, will look like this:
Conclusion
Now you can add styles in your static/main.css, modify the pages structure, and so on.
In a future post, I will share some advanced techniques and tricks for making it easier work with Zola.